Beranda
/ How To Install Backsplash Tiles - How To Install A Tile Backsplash How Tos Diy - Installing a tile backsplash can add timeless beauty to your home.
How To Install Backsplash Tiles - How To Install A Tile Backsplash How Tos Diy - Installing a tile backsplash can add timeless beauty to your home.
Insurance Gas/Electricity Loans Mortgage Attorney Lawyer Donate Conference Call Degree Credit Treatment Software Classes Recovery Trading Rehab Hosting Transfer Cord Blood Claim compensation mesothelioma mesothelioma attorney Houston car accident lawyer moreno valley can you sue a doctor for wrong diagnosis doctorate in security top online doctoral programs in business educational leadership doctoral programs online car accident doctor atlanta car accident doctor atlanta accident attorney rancho Cucamonga truck accident attorney san Antonio ONLINE BUSINESS DEGREE PROGRAMS ACCREDITED online accredited psychology degree masters degree in human resources online public administration masters degree online bitcoin merchant account bitcoin merchant services compare car insurance auto insurance troy mi seo explanation digital marketing degree floridaseo company fitness showrooms stamfordct how to work more efficiently seowordpress tips meaning of seo what is an seo what does an seo do what seo stands for best seotips google seo advice seo steps, The secure cloud-based platform for smart service delivery. Safelink is used by legal, professional and financial services to protect sensitive information, accelerate business processes and increase productivity. Use Safelink to collaborate securely with clients, colleagues and external parties. Safelink has a menu of workspace types with advanced features for dispute resolution, running deals and customised client portal creation. All data is encrypted (at rest and in transit and you retain your own encryption keys. Our titan security framework ensures your data is secure and you even have the option to choose your own data location from Channel Islands, London (UK), Dublin (EU), Australia.
How To Install Backsplash Tiles - How To Install A Tile Backsplash How Tos Diy - Installing a tile backsplash can add timeless beauty to your home.. Starting in the center, use a putty knife to apply just enough tile mastic to attach one tile to the wall. Depending on the tile that is to be installed, and where it will be installed, it is sometimes approp. Want the look of a tile back splash, but the simplicity of a diy project? Most likely, the tiles that border the bottom of the cabinets will need to be cut, which won't be a problem because cut tiles here will be less visible. A tile backsplash is a great way to change the look and feel of your kitchen.
Starting in the center, use a putty knife to apply just enough tile mastic to attach one tile to the wall. Begin applying full tiles where the backsplash meets the countertop. Check the tile size against the wall and sand rough edges with sandpaper or a pumice stone. Detaching and spacing the outlet 1 remove the faceplate and install the backsplash around the outlet first. Do not touch or clean the tiles during this time.
Diy Peel And Stick Backsplash Self Styled from static1.squarespace.com The first tile will make the base for the rest of your backsplash, so it needs to be placed perfectly. Prep the wall, apply the thinset, and install the tile. The following will walk you through the four stages of installing a tile backsplash: A glass tile backsplash in your kitchen or bathroom announces itself with shimmering light and rich colors. Make sure the tile is lined up properly and perfectly straight before moving on. If you apply too much at once, it will begin to dry before you get a chance to attach the tiles. How to prepare the wall, how to apply the adhes. Use nails that match the color of your tin backdrop so that they blend in and aren't obvious.
In this video, i show you how to install a backsplash with a mesh backing.
Use your trowel to smooth the tile adhesive across the wall, working in small sections. A glass tile backsplash in your kitchen or bathroom announces itself with shimmering light and rich colors. Ask this old house general contractor tom silva teaches a homeowner a simple technique for tiling backsplash.subscribe to this old house: Use the float to take off any excess grout then allow the grout to set for 10 minutes. How to install a simple subway tile kitchen backsplash. Use your pencil line and bubble level to line the tile up in the middle of the backsplash, before pushing it into the mastic. Expert carpenter shows how to install a tile backsplash. Use nails that match the color of your tin backdrop so that they blend in and aren't obvious. Do not grout the bottom seam where the tile meets the countertop, you'll want to use caulk in that seam. Use nails to fasten your tin tile backdrop to the wall. Prep the wall, apply the thinset, and install the tile. In this video, i show you how to install a backsplash with a mesh backing. Once the mixture has been combined, allow it to rest for five to 10 minutes.
Wait for the thinset to cure for a full 48 hours. We used this bullnose edging around the outer corners, and this flat edging along the sides and top of the backsplash. Always start applying your tiles from the bottom center, and working outwards from there. The first tile will make the base for the rest of your backsplash, so it needs to be placed perfectly. Prep the wall, apply the thinset, and install the tile.
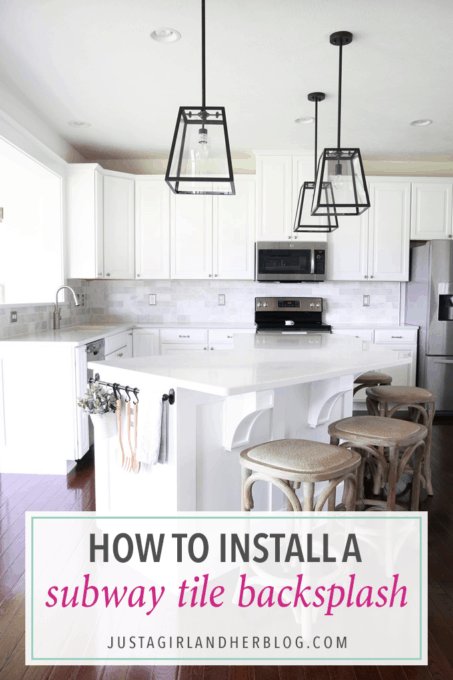
How To Install A Marble Subway Tile Backsplash Abby Lawson from justagirlandherblog.com How to prepare the wall, how to apply the adhes. Installing a tile backsplash can add timeless beauty to your home. Always start applying your tiles from the bottom center, and working outwards from there. A tile backsplash is a great way to change the look and feel of your kitchen. The following will walk you through the four stages of installing a tile backsplash: Starting in the center, use a putty knife to apply just enough tile mastic to attach one tile to the wall. Ask this old house general contractor tom silva teaches a homeowner a simple technique for tiling backsplash.subscribe to this old house: With hexagon tiles, you have to cut them to get a flat edge where your backsplash ends.
Use your trowel to smooth the tile adhesive across the wall, working in small sections.
1) prepping the wall, 2) creating a layout, 3) attaching the tiles, and then 4) applying the grout and finishing. This is the video to watch. Check out our guide to learn more about installing tile backsplash: How to prepare the wall, how to apply the adhes. Clean the tile, grout the joints, and caulk the perimeter. There are many gorgeous choices available and many ways to apply them. With tile, there are a range options from square tiles to subway tiles , in many different colors, so you can also create the exact look and feel you want in your kitchen. Make sure the tile is lined up properly and perfectly straight before moving on. Do not grout the bottom seam where the tile meets the countertop, you'll want to use caulk in that seam. So we opted for metal tile edging to complete the backsplash. Use nails to fasten your tin tile backdrop to the wall. Depending on the tile that is to be installed, and where it will be installed, it is sometimes approp. Always start applying your tiles from the bottom center, and working outwards from there.
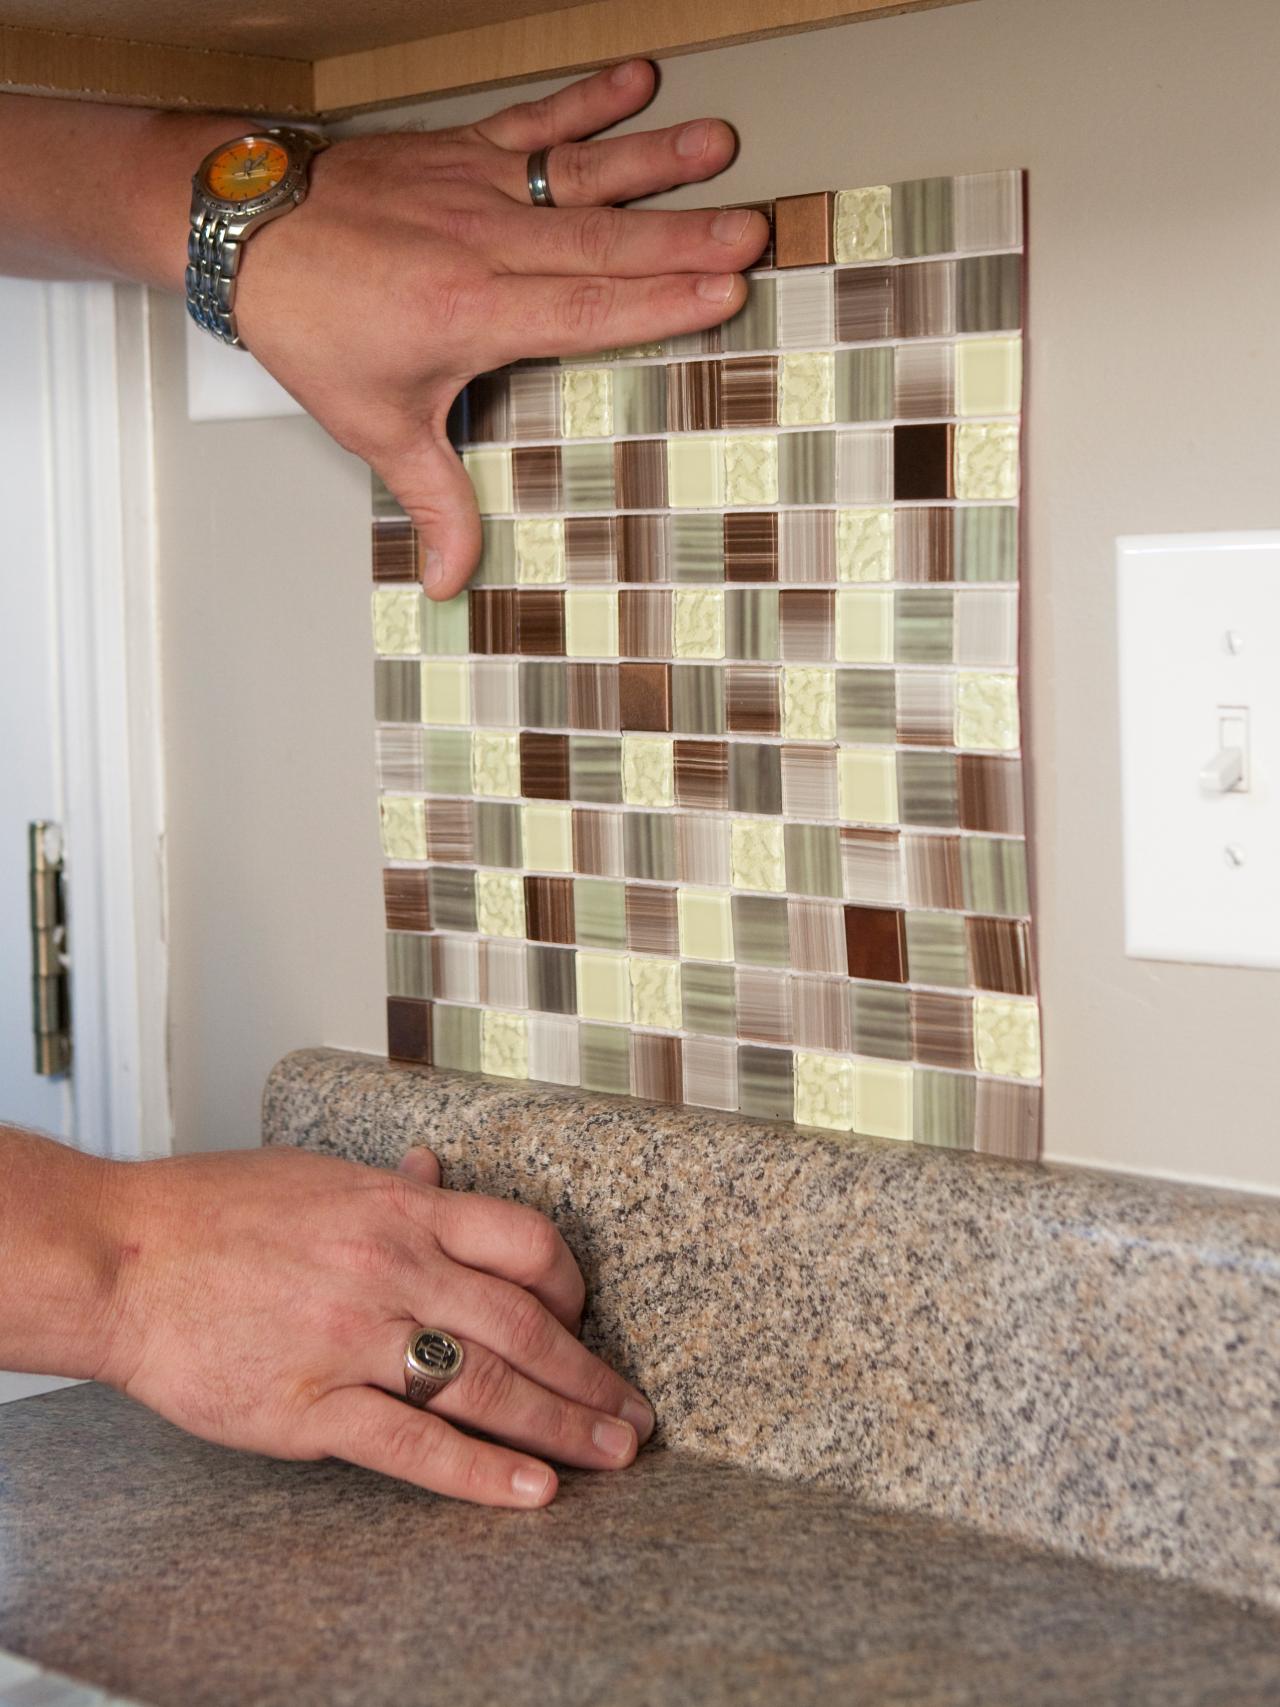
Use the float to take off any excess grout then allow the grout to set for 10 minutes. Learn how to install tile backsplash with this easy diy tutorial. Use your pencil line and bubble level to line the tile up in the middle of the backsplash, before pushing it into the mastic. Installing backsplash tile when it comes to hanging the backsplash tile on the wall, it's actually pretty easy as long as it doesn't require a special cut. How to prepare the wall, how to apply the adhes.
How To Install A Backsplash How Tos Diy from diy.sndimg.com Use nails that match the color of your tin backdrop so that they blend in and aren't obvious. The first tile will make the base for the rest of your backsplash, so it needs to be placed perfectly. Check out our guide to learn more about installing tile backsplash: Prep the wall, apply the thinset, and install the tile. If you apply too much at once, it will begin to dry before you get a chance to attach the tiles. Always start applying your tiles from the bottom center, and working outwards from there. Ask this old house general contractor tom silva teaches a homeowner a simple technique for tiling backsplash.subscribe to this old house: These are sometimes referred to as mosaic backsplash.
This is the video to watch.
Use nails that match the color of your tin backdrop so that they blend in and aren't obvious. Apply grout with a rubber float working diagonally across the tile. 1) prepping the wall, 2) creating a layout, 3) attaching the tiles, and then 4) applying the grout and finishing. With hexagon tiles, you have to cut them to get a flat edge where your backsplash ends. Then you're left with an awkward rough edge just sticking out. Want the look of a tile back splash, but the simplicity of a diy project? How to prepare the wall, how to apply the adhes. Most likely, the tiles that border the bottom of the cabinets will need to be cut, which won't be a problem because cut tiles here will be less visible. Once the mixture has been combined, allow it to rest for five to 10 minutes. We used this bullnose edging around the outer corners, and this flat edging along the sides and top of the backsplash. Use your pencil line and bubble level to line the tile up in the middle of the backsplash, before pushing it into the mastic. Check the tile size against the wall and sand rough edges with sandpaper or a pumice stone. Begin applying full tiles where the backsplash meets the countertop.